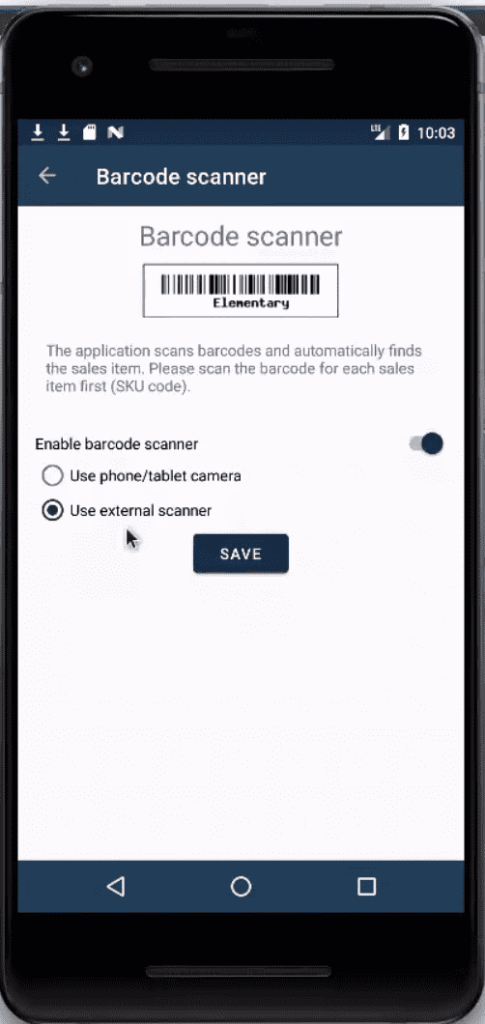
If you’d like to enter sales items faster than ever while using your Elementary POS cash register, using a barcode scanner is the way to go. There are two ways to scan sales items.
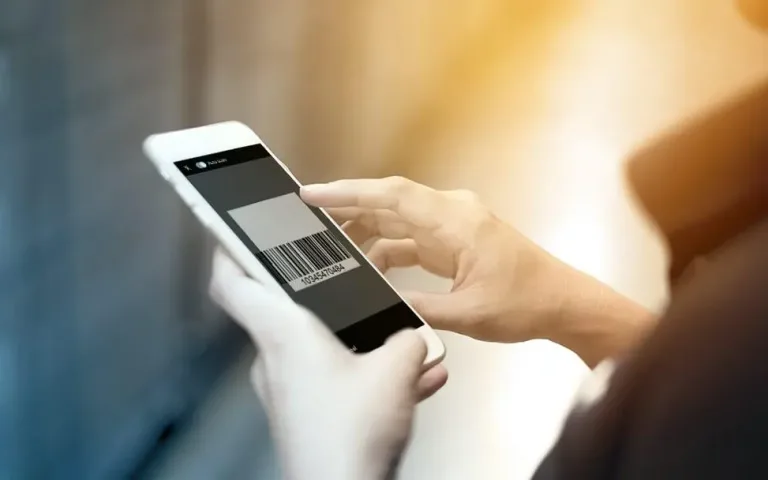
- You can use your phone camera. This means that your Android phone can function as a cash register with a barcode scanner. The second way is to connect an external scanner via Bluetooth. In this case, you’ll connect it in a few steps following the in-app instructions.
- If you choose to connect an external barcode scanner, it will act similarly to an external keyboard. To connect an external scanner to your Android device, a USB A (F) Female to USB micro (older phones) or USB A (F) Female to USB C (newer phones) adapter will be needed.
What is the main benefit of scanning sales items?

The speed. No need to enter your items manually anymore, with a fast scan, the sales item will instantly appear on your screen. You will then be free to edit the quantity, the tax, or add a discount.
Keep in mind that to use a barcode scanner, you need to have a SKU code assigned to your sales item. A SKU code is a unique numeric value of each barcode. In the Edit section of each sales item, there is the option to scan the SKU code. Therefore, it is not necessary to ever enter it manually.
While this function is also available in the Free version of Elementary POS, we recommend going PREMIUM to gain access to an unlimited number of SKU codes.
If you do not have access to a barcode scanner, you can still enter your sales items manually. As a small life-hack, we recommend creating a shortcut for each sales item.
Be sure to check out also our simple video tutorial on how to use a barcode in Elementary POS:


