Did you know that there are different ways to customize your receipt within Elementary POS?
Basic Editing in Elementary POS
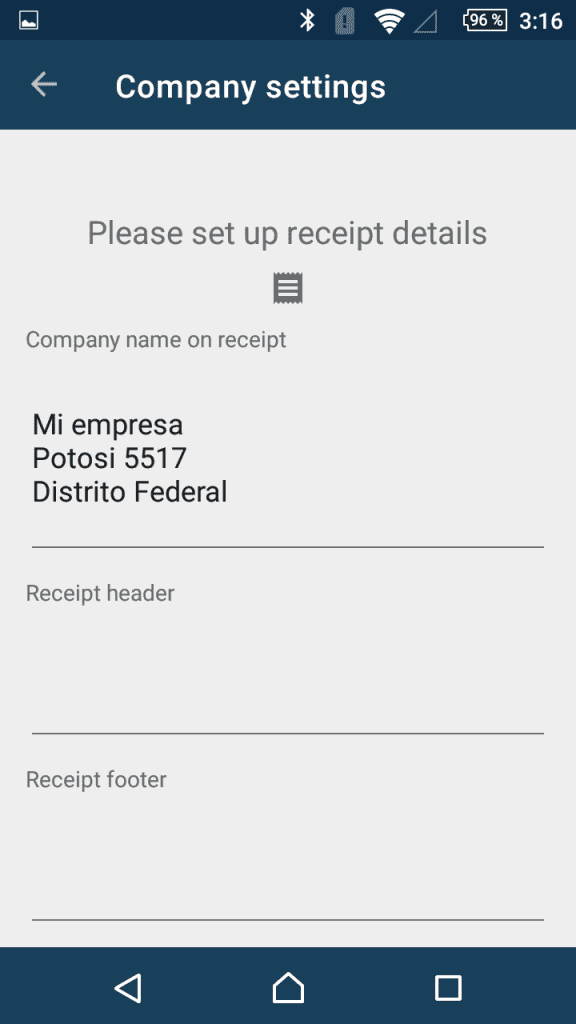
You can do some basic customization right in the Elementary POS app. After you open it, go to “Settings” and in the “Receipt settings” option, you’ll see that you can adjust the header and footer, or upload a logo of your company to suit your needs.

Advanced Editing in the Back Office
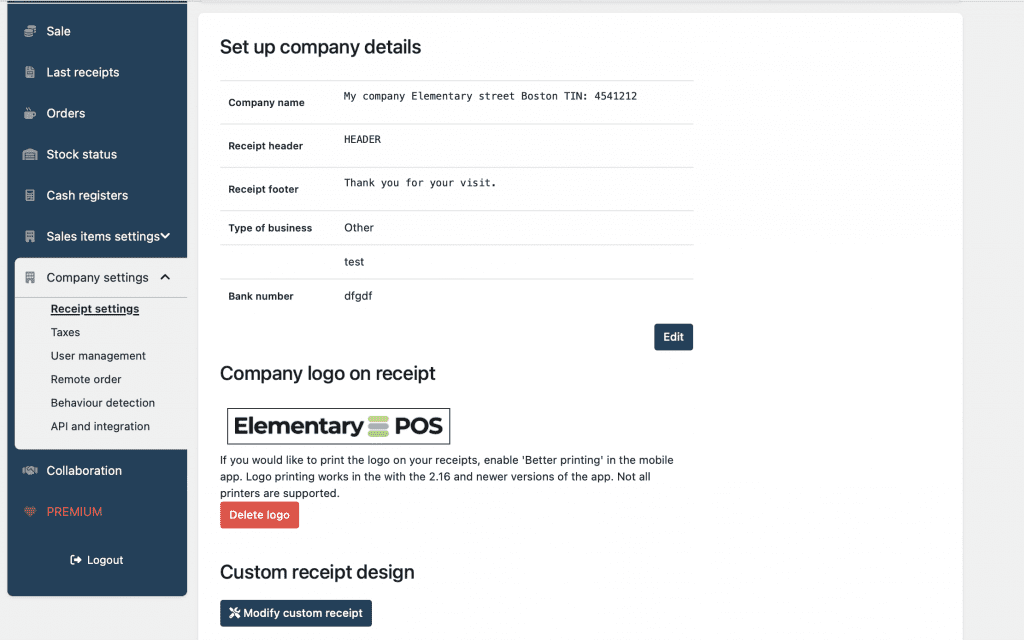
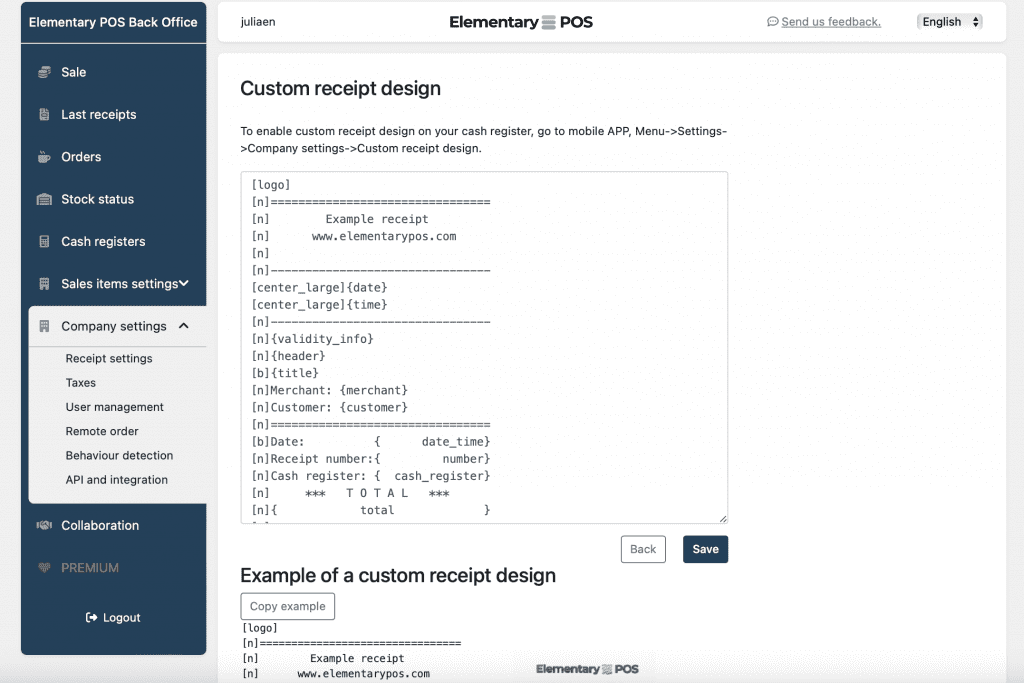
You can go even further when it comes to editing your receipt. After logging in to the Back Office, enter the “Company Settings” tab, go to “Receipt settings”. Here, you can fully customize the final look of your receipt in a simple editor. You can access the editor after clicking on the “Modify custom receipt” option.

Just below the editor, you’ll find a sample receipt as well as a preview of how it looks printed. There’s also a guide of all the variables that you can use during the customization. Keep in mind that everything that is within the {brackets} can be customized/edited.

Some establishments might need a large, dominant date and time on their receipt, others will want their company logo to be seen at the first glance. The receipt editor in the Office will allow you all this and more. And no worries – it is much simpler to handle than it might sound now.
However, a basic customization can always be performed also within the app itself.


