No need to call any technicians, you can really do this on your own!
If you have just downloaded Elementary POS, this article is here to guide you through the setup process. Rest assured that you are perfectly able to do it on your own, without requiring professional help.
The first thing you need to determine is all the devices you want to set up. Is it going to be just the cash register? Or will you also be setting up a printer, a payment terminal, a cash desk or a barcode scanner?
This guide will be limited to setting up the Elementary POS cash register.
To perform a successful setup, you need just two things:
- an Android mobile device
- a stable Internet connection
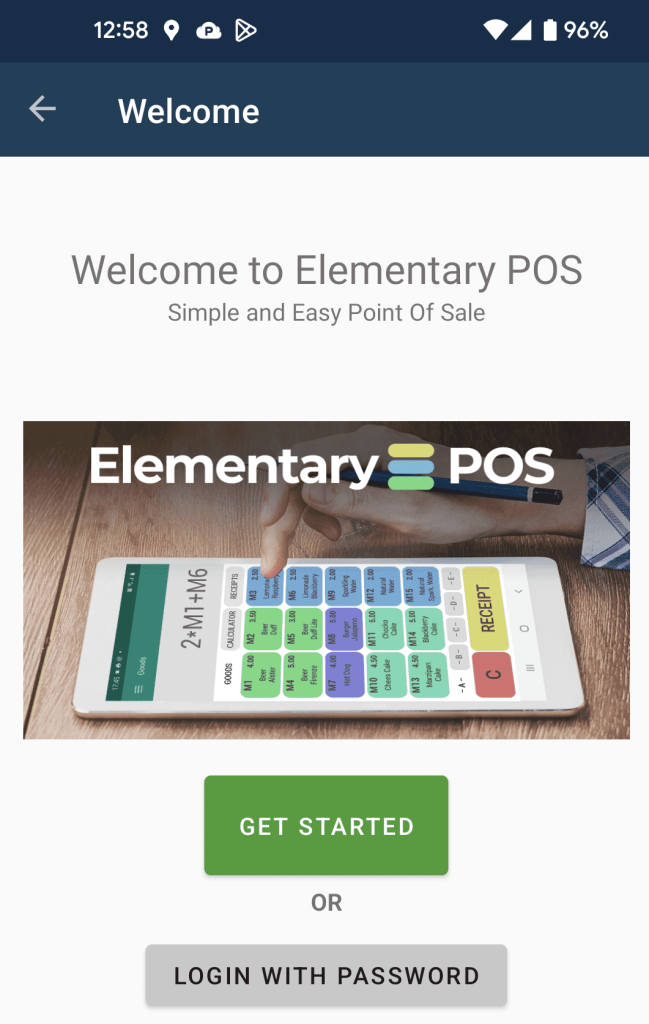
STEP 1: Download the app to get started:
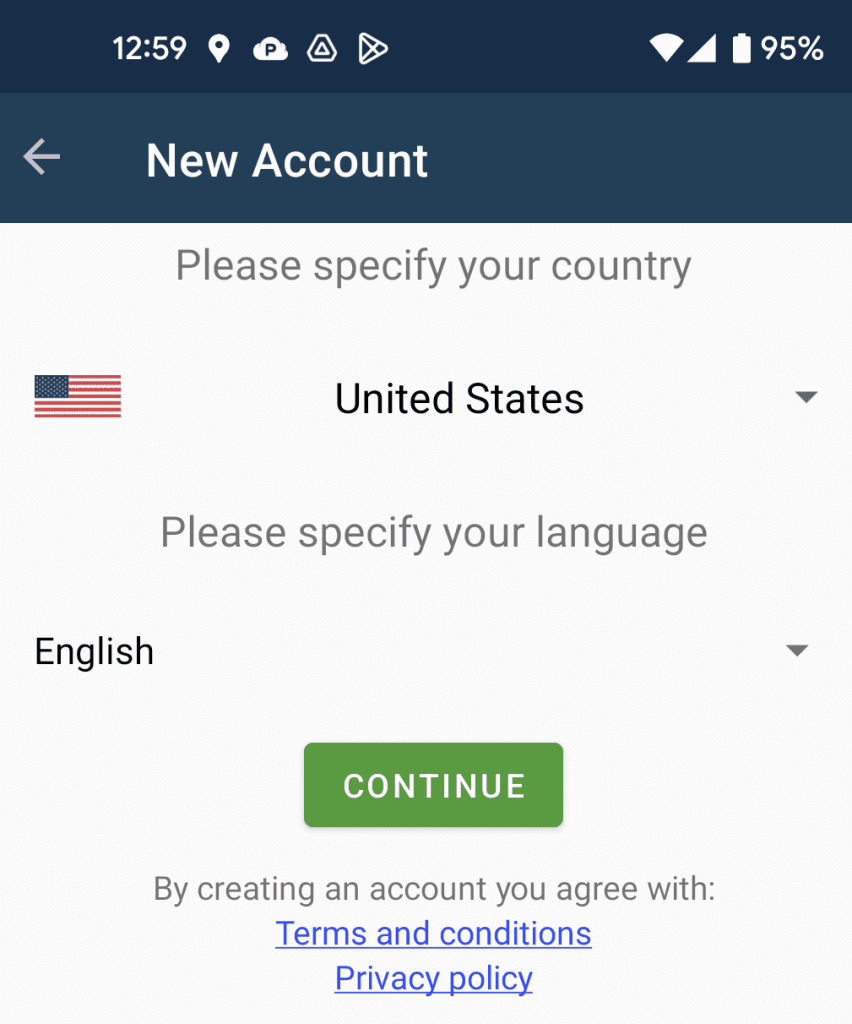
STEP 2: Specify your country and language
STEP 3: Set up credentials (optional)
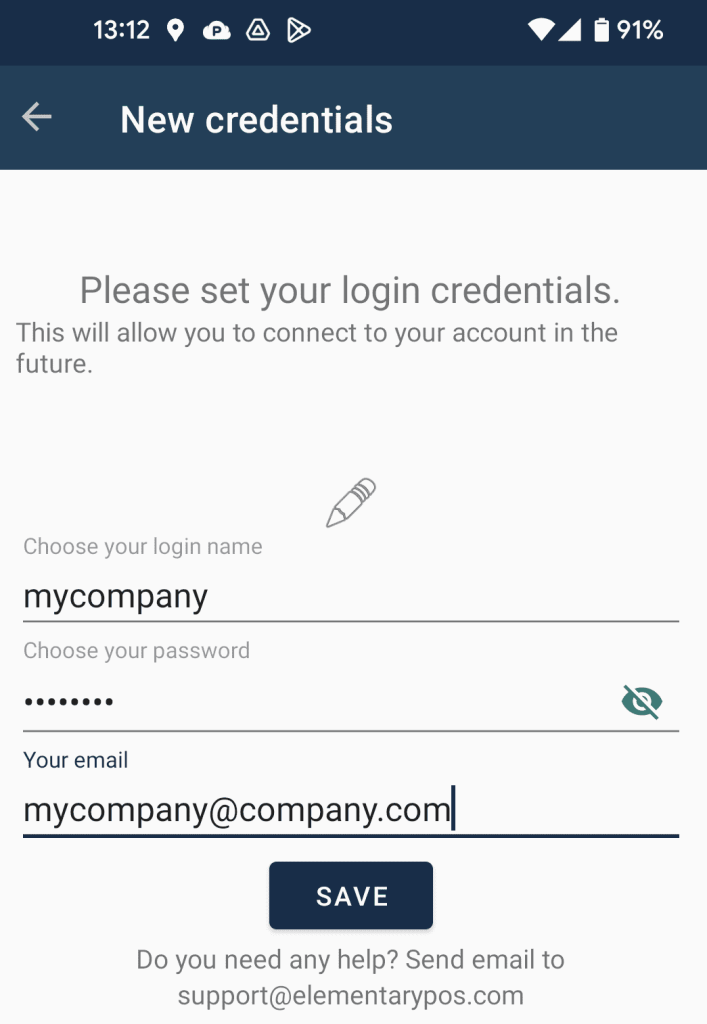
Enter an e-mail address, a username (f.ex. the name of your company) and pick a password.
This step is not necessary and you are free to skip entering credentials. However, in order to fully use the app, you will need to enter them eventually.
At this point, you can start using the app. But there are a few more steps that will complete your setup and save you time and hassle in the future.
STEP 4: Set up tax rates
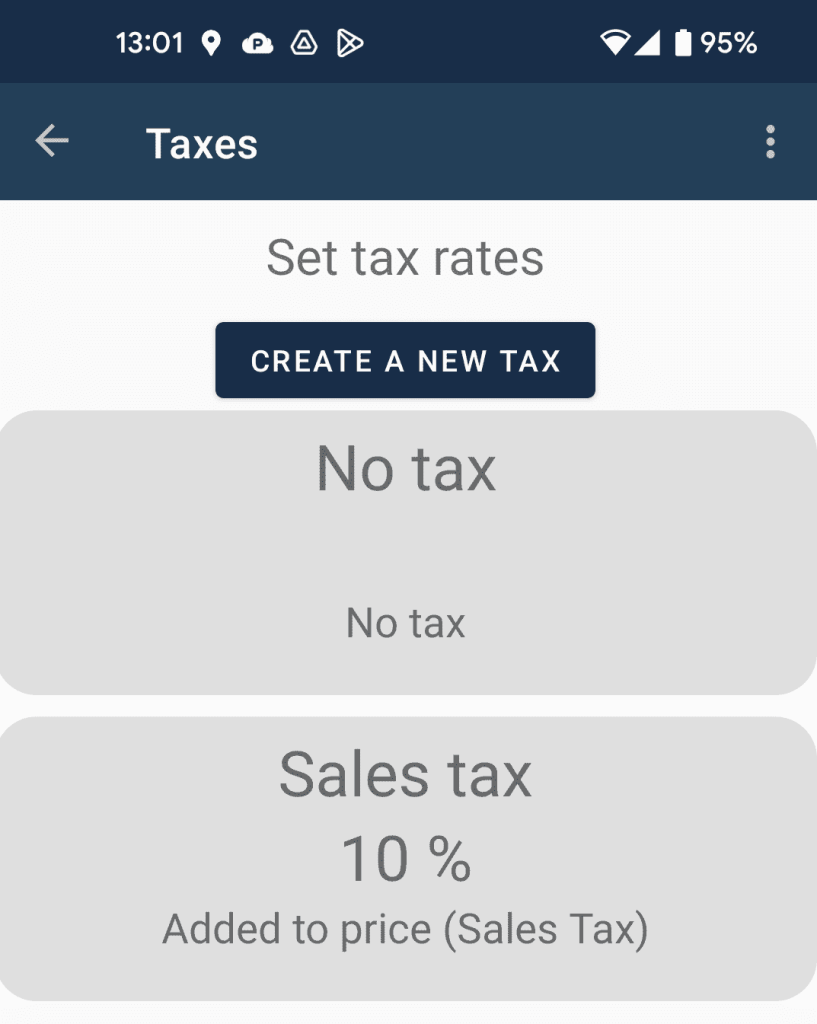
By default, your tax will be set based on the country you picked in the previous step. You can also select the “no tax” option, or create your own tax by tapping the top button.
STEP 5: Set up sales items
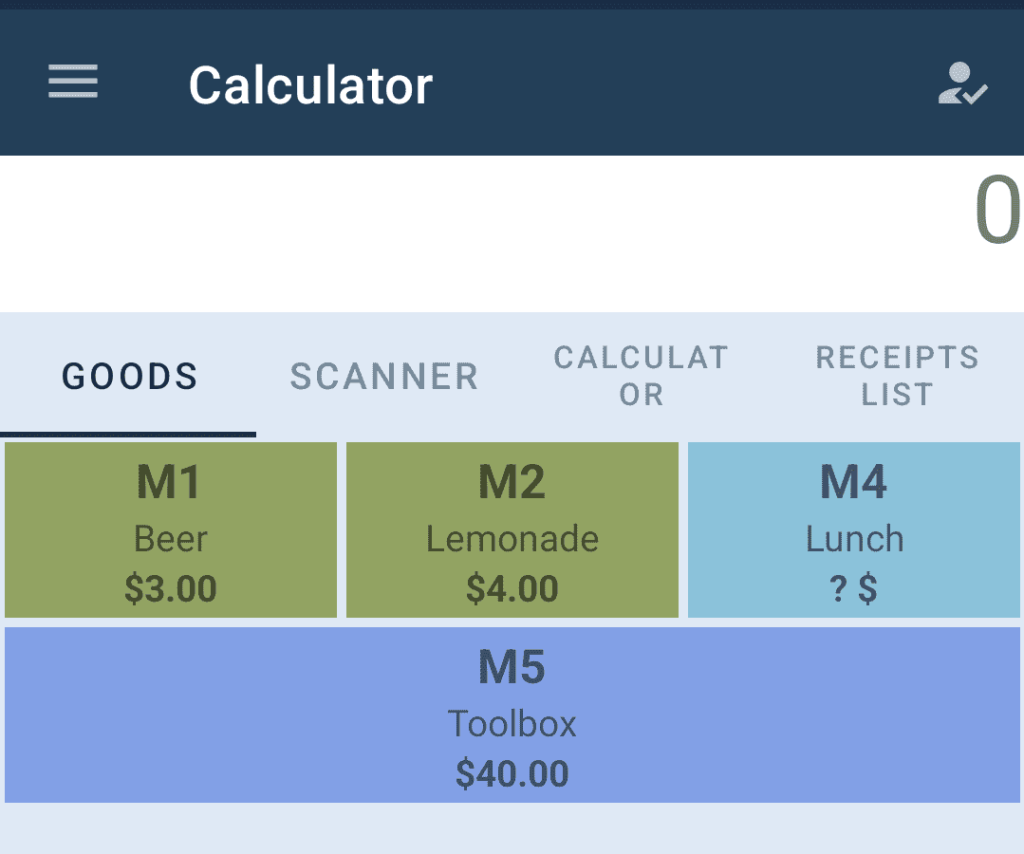
As you can see after you open your app for the first time, there are some items set up by default. You can add new ones or edit the default ones according to your needs.
TIP: You use the Elementary POS Back Office to edit your sales items. It’s much more comfortable that way.
STEP 6: Try out issuing a receipt.
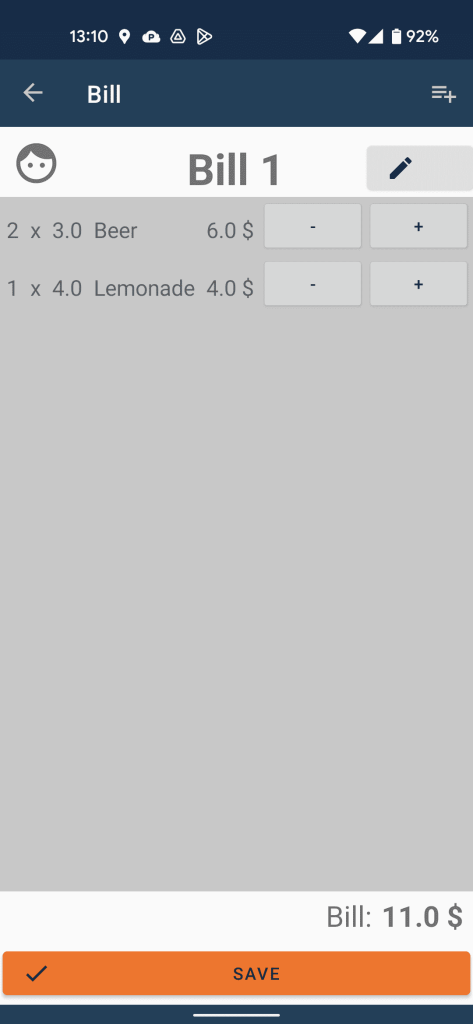
And that’s it, your Elementary POS cash register is ready to rock after this complete setup!
The receipts from Elementary POS can be shared via apps such as WhatsApp. If you want to print your receipts, you can get a portable printer. It can be wireless (Bluetooth) or connected to your device via USB.
