
To be able to use any loyalty system in your business, you cannot do without identification of the customers that want to participate.
The ideal and fastest way of doing so is to identify them in your point-of-sale system. Whenever customers shop in your business, you simply assign them to the purchase so they can earn points, or you assign their purchased subscription to them.
Create a customer’s profile
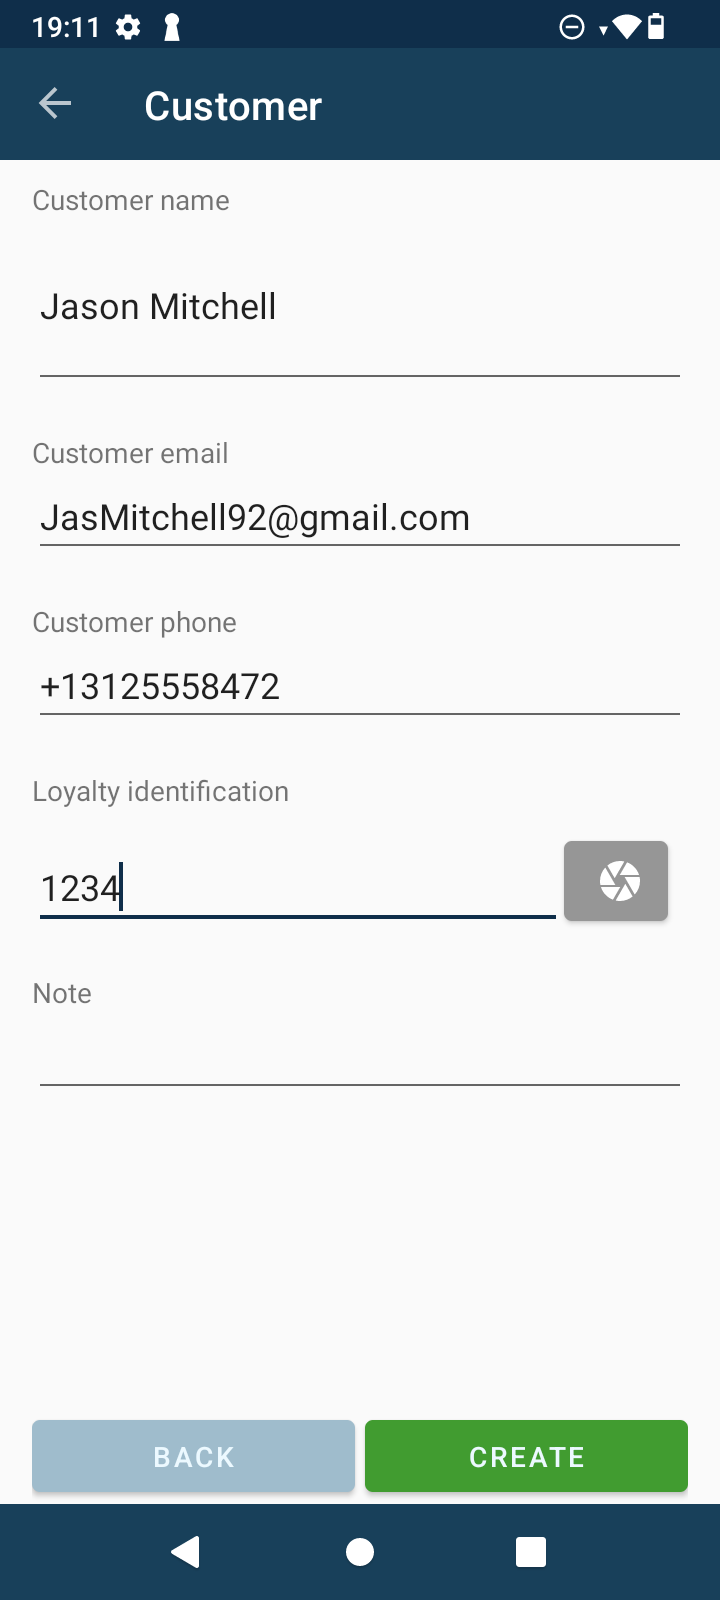
In Elementary POS it is simple, you guessed it. Start again in Elementary POS Back Office where, in the menu, you will find Directory > Customers and in the right corner you click on the + New customer button. Then you just need to fill in the identifiers you have previously chosen, which you can later use to look the customer up.
• Customer’s name (which will also later appear on the receipt)
• E-mail
• Phone number
• Loyalty System ID
• Note
At the beginning only the Customer’s name may be key for you, but, over time, you might decide that it could be handy to have their e-mail or phone number as well. For example, when you want to inform them about news in your business, deals, discounts, etc. So think carefully beforehand whether to ask your customers for these details right away too.
A Loyalty ID is handy when you want to provide your customers with a physical representation of the loyalty system. A typical example is loyalty cards with which customers most often collect stamps = points for coffees or maybe pizza. This way, they can better visualize the points they have earned and keep track of them. So the cards can have, for instance, a unique code that you will put in the Loyalty System ID box for a particular customer.
What does a loyalty purchase look like in practice?
A customer arrives and you enter their order in the Elementary POS app as usual.
For example, one cappuccino and one lemonade > Receipt Summary. Here you will see the final amount, and, besides the options to add to the bill or pay, you will also find here three dots in the top right corner. When you click on them, the Customer button will appear.

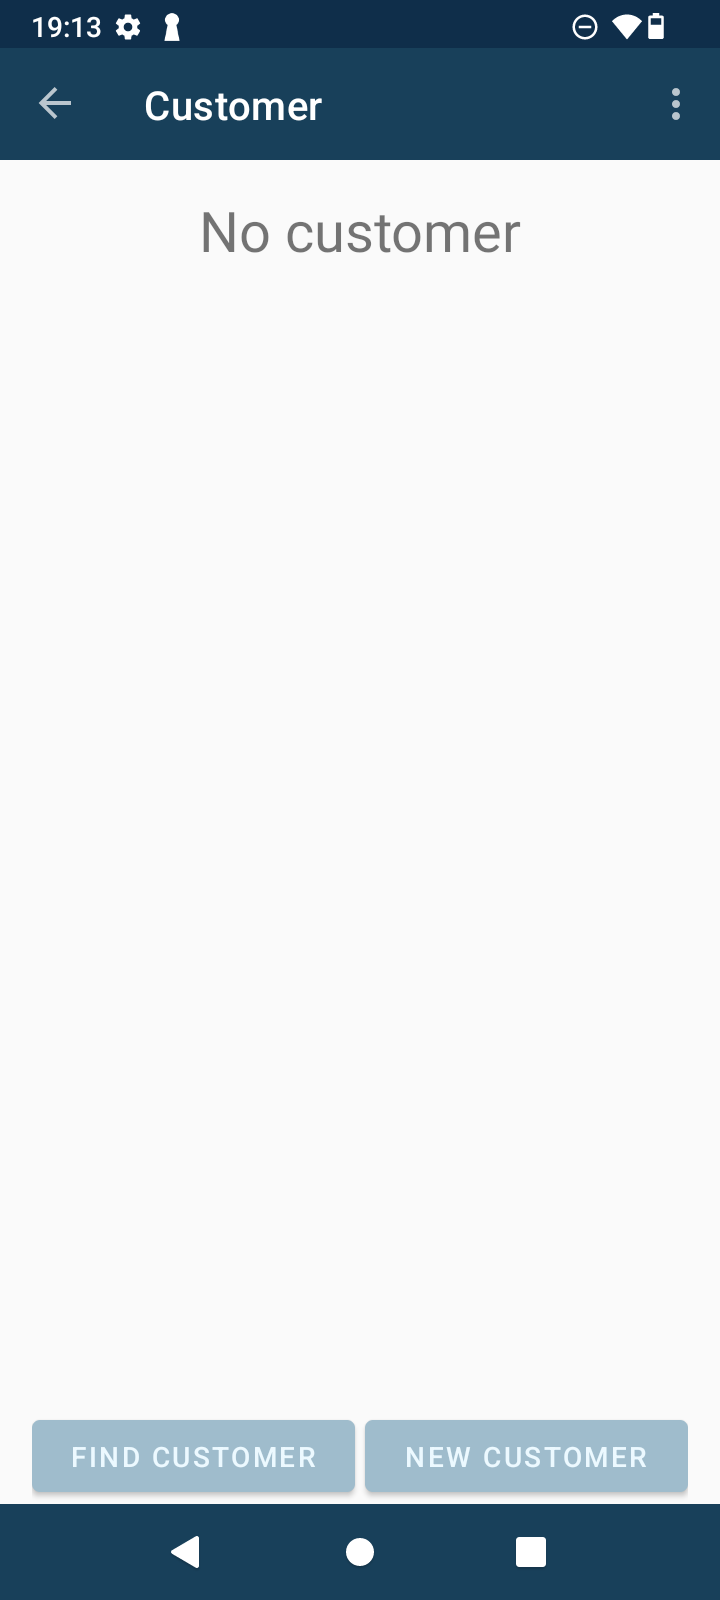
Upon clicking it, you can:
- Create a new customer’s profile – New Customer by filling in individual identifiers (that you preselected),
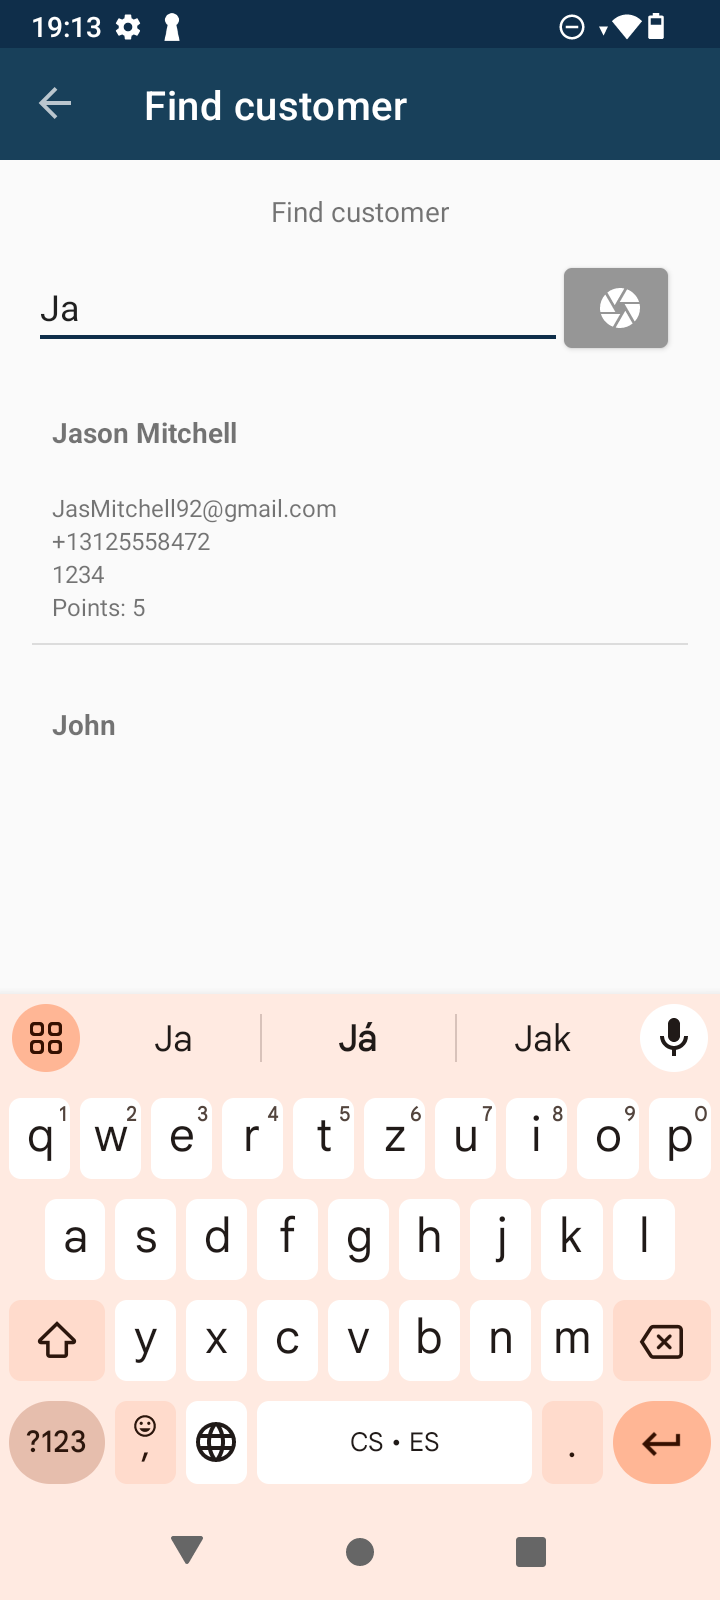
- or Find a customer using one of the identifiers. During the search, individual customers will appear with all their filled-in information and the number of points earned so far.
Then, in the app, you will go back to Receipt Summary, where you can also see which customer you have assigned to the purchase and what is their point balance.
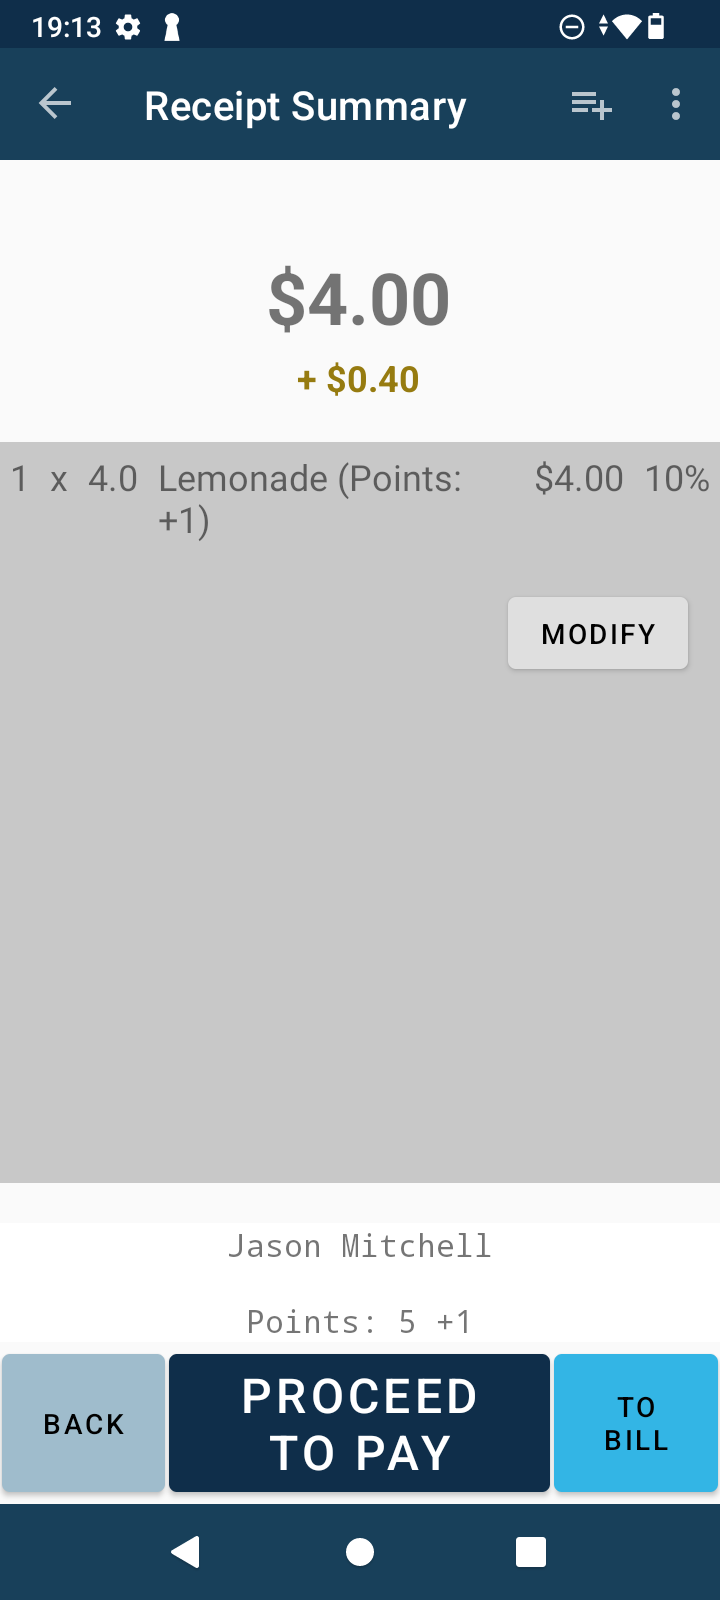
At this point, you can still modify or delete the items on the bill. The customer’s point balance will neither rise nor will it go down.
When the customer pays, their receipt will not only show the purchased items and the final price but also a Loyalty Program section, where they can track how many points they currently have and if they have redeemed any, getting a discount.
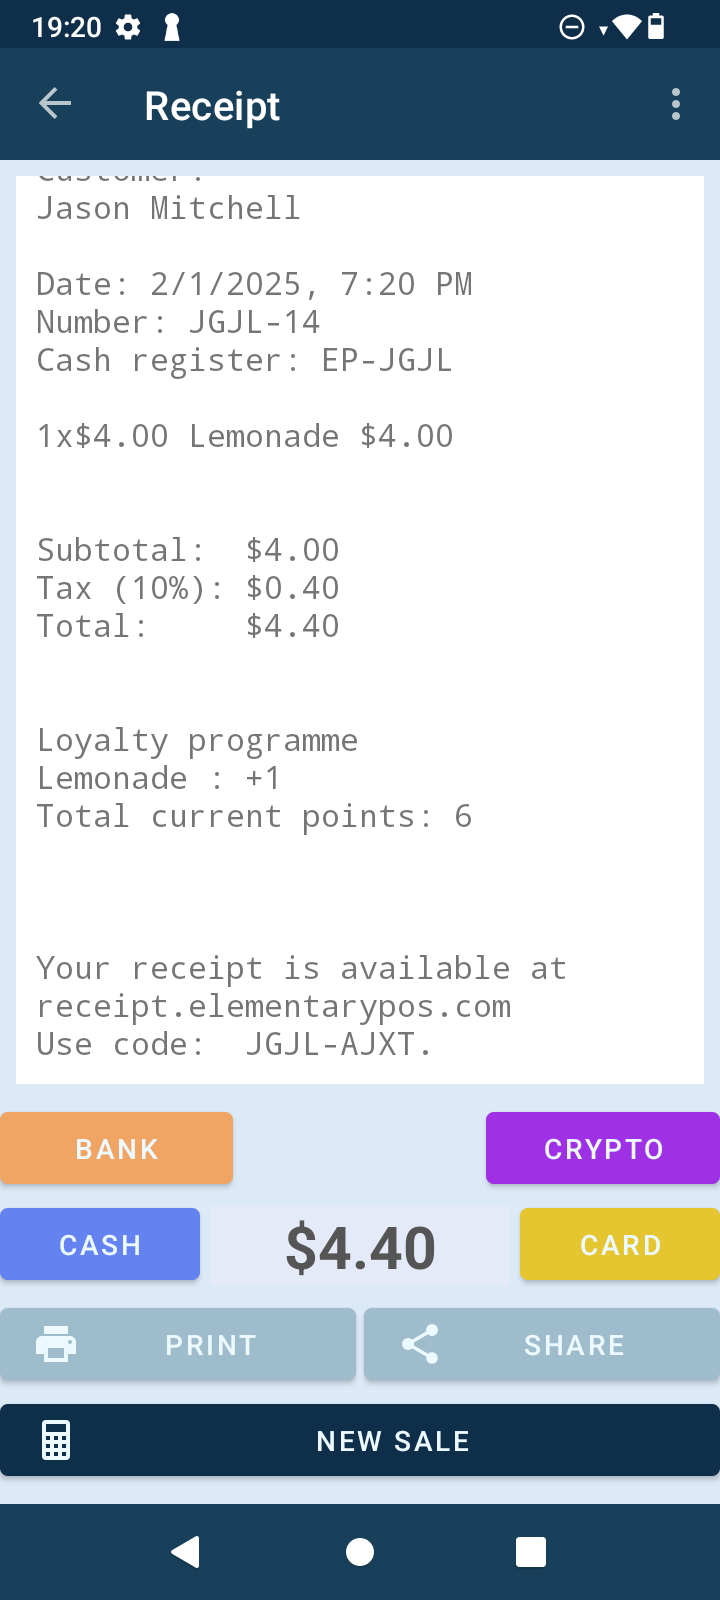
Alternatively, they can also check their point balance, or credits (in the case of a subscription), through the portal https://receipt.elementarypos.com/ entering just the unique code from the receipt.