There is a really nice feature in the Elementary POS APP. You can edit all your sales items in one Excel file. This is a very effective way to edit multiple items at once. You can quickly navigate, edit, copy and remove sales items easily.
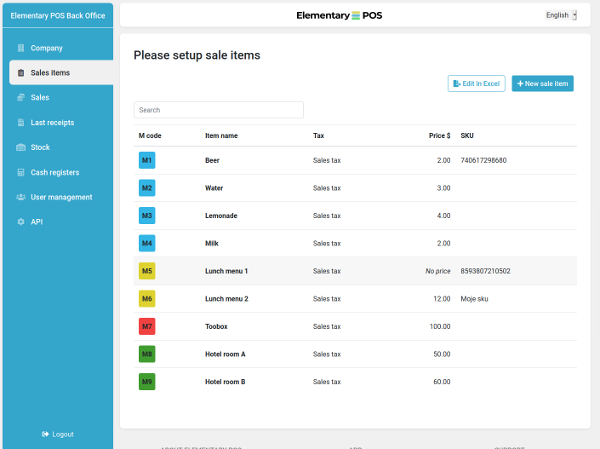
Go to Elementary POS Office. Select “Sales items” in the main menu.

Then click the “Edit in Excel” button and then click the “Export” button. Download the Excel file and open it. You can use Excel or Libre Office.

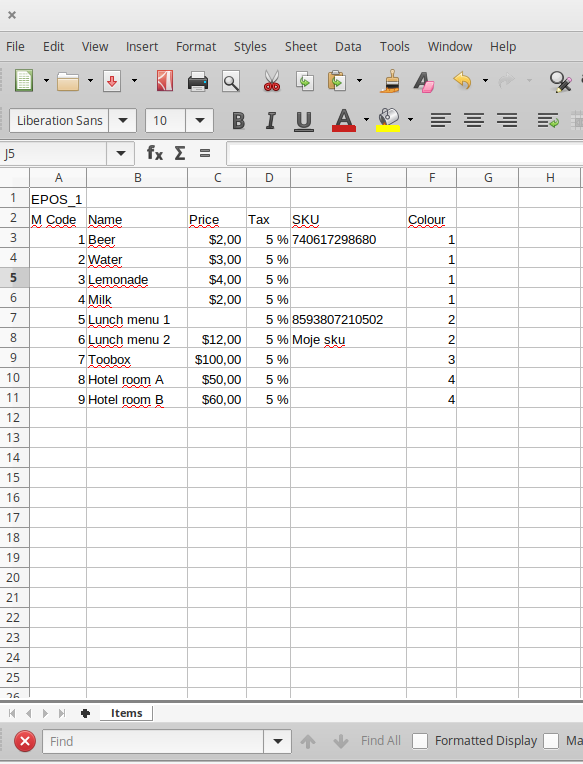
Now you can edit your sales items. You can add new rows, edit rows or delete rows.
- M Code – A unique code used in the calculator.
- Name – Name of the sales item.
- Price – The price. May be empty. In this case, the APP will ask for the price when a new receipt or invoice is created.
- Tax – Tax (VAT or Sales tax) in percent. May be empty. If specified, the tax must be valid tax (specified in the Tax settings).
- SKU – Unique ID of sales item. Must be specified if the Stock feature is used. It is also mandatory for the barcode scanner.
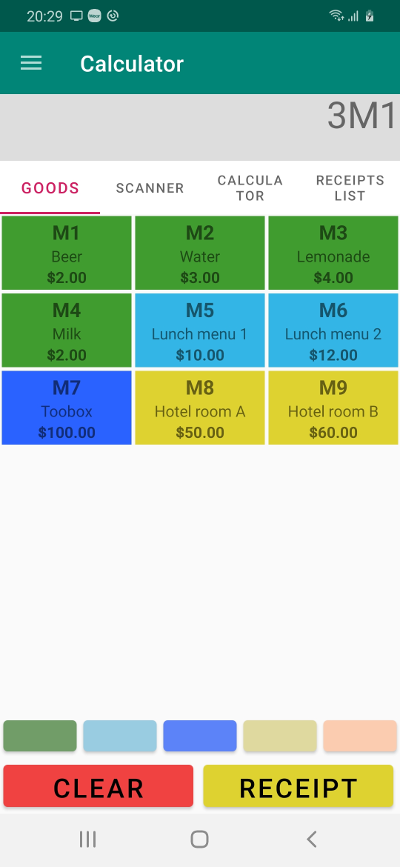
- Colour – Number from 1 to 4. Specifies the colour display for the sales item in the mobile application.
You can include additional columns if necessary. For example, you can create a column for wholesale price or the price in a different currency.
Then save your Excel file. If you use Libre Office, please save it in XLSX format.
Continue with the page Elementary POS Office and click the “Browse” button and select the file. Then click the “Import” button and confirm it. All your sales items will be imported from the Excel file.
And enjoy! Like magic, all your mobile devices will be synchronized. Open mobile Elementary POS APP and check your sales items.


